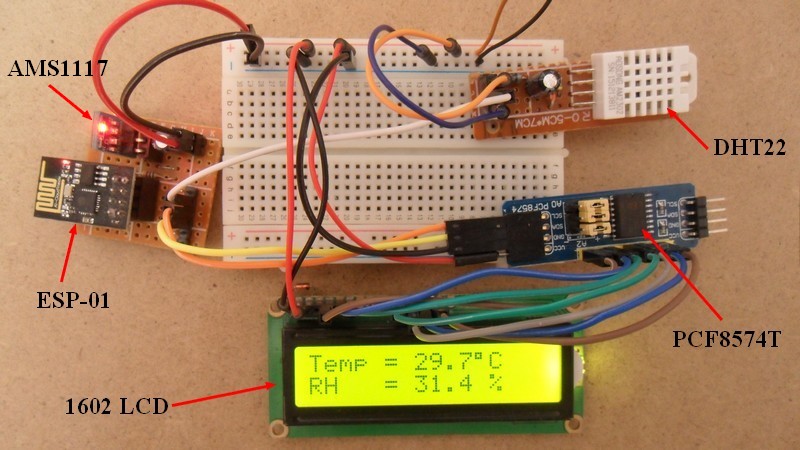
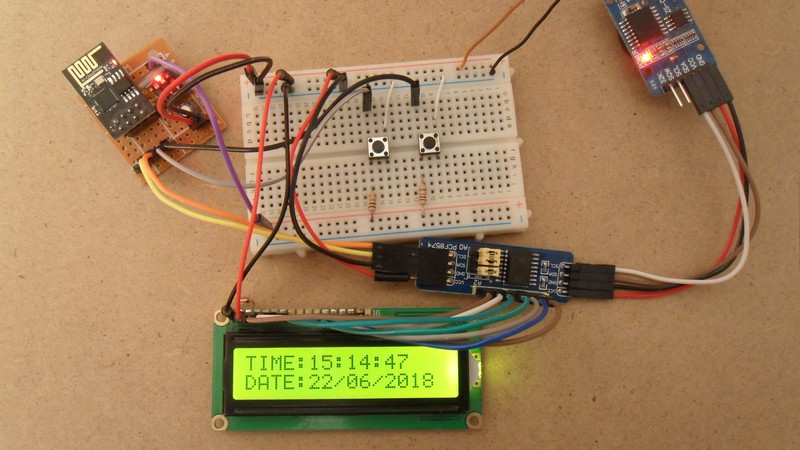
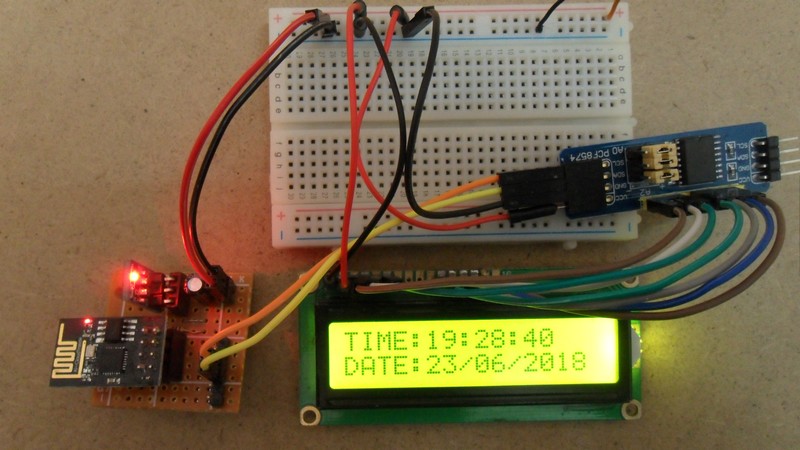
In this blog there are many topics talk about the DHT11 and DHT22 sensors and how to use them with different types of microcontrollers including the Arduino. This topic shows how use the DHT11 and the DHT22 relative humidity and temperature sensors with ESP8266 ESP-01 Wi-Fi module where the measured values of the relative humidity and the temperature are displayed on 16×2 LCD screen.
The DHT11 (RHT01) as well as the DHT22 (RHT03, AM2302) sensors work with voltage range from 3V to 5.5V. The ESP-01 module works with 3.3V and the LCD screen works with 5V.
Since the ESP-01 module has only four I/O pins, I’m going to use an I2C LCD. This LCD consists of PCF8574 I/O expander.
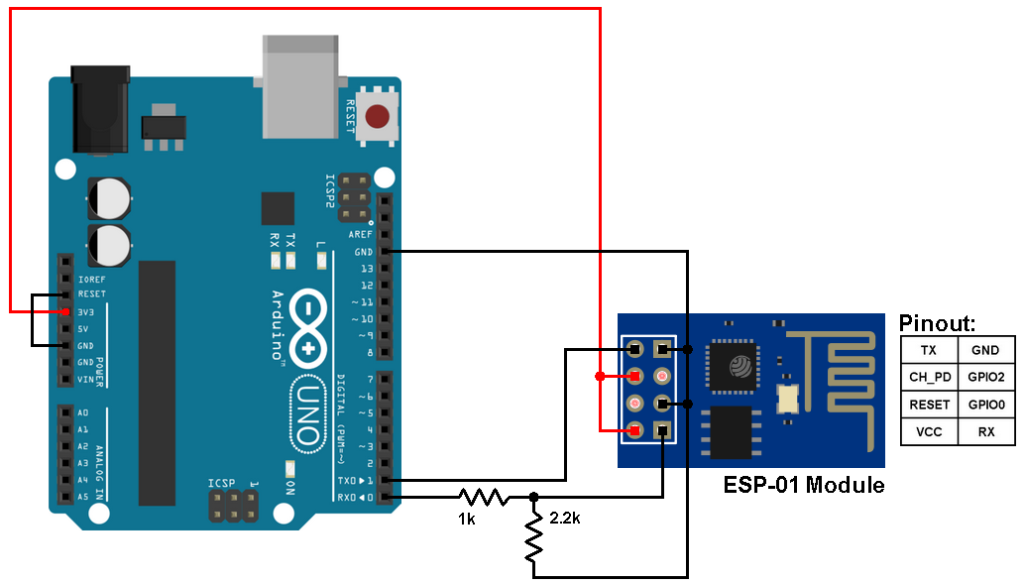
If you want to see how to use the ESP-01 module for the first time, how to use it with Arduino IDE and how to program (upload sketches) it with Arduino, visit the following topic:
ESP8266 WiFi module programming with Arduino UNO board
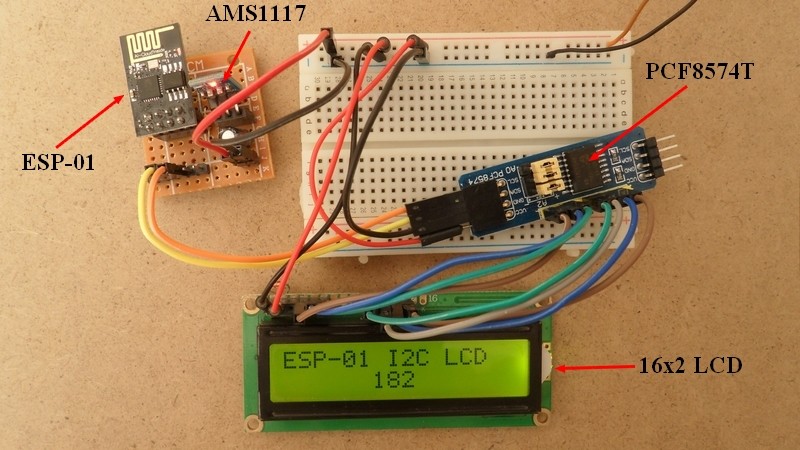
Also, the page below shows how interface the ESP-01 module with I2C LCD:
Interfacing ESP8266 ESP-01 module with I2C LCD
Hardware Required:
The components required for this project are listed below, if you’re using the DHT11, choose it, otherwise choose the DHT22.
- ESP8266 ESP-01 module
- DHTT11 or DHT22 sensor
- 16×2 LCD screen
- PCF8574 I/O expander (or PCF8574A) — PCF8574 datasheet
- AMS1117 3V3 voltage regulator
- 10uF capacitor
- 0.1uF (100nF) ceramic capacitor
- 5 x 10k ohm resistor
- 4.7k ohm resistor
- 330 ohm resistor
- 10k ohm variable resistor or potentiometer
- 5V source
- Breadboard
- Jumper wires
The Circuit:
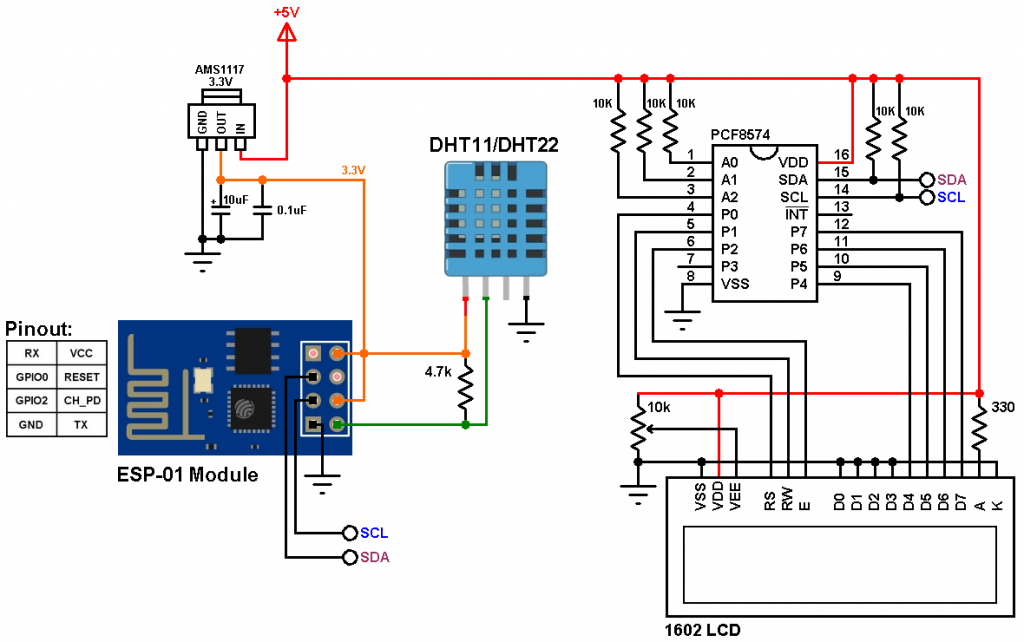
The circuit connections of the DHT11 and the DHT22 are the same.
(All grounded terminals are connected together)
The DHT11/DHT22 sensor has 4 pins (from left to right): VCC (+3V), data, NC (not connected) and GND (ground). The data pin is connected to the RX pin of the ESP-01 module, this pin is also GPIO1.
The Codes:
The circuit diagrams of the DHT11 and the DHT22 are the same, but the codes are not. The two code are below, the first one is for the DHT11 sensor and the second is for the DHT22 sensor.
To be able to compile the 2 codes, we need 2 libraries: one for the I2C LCD and the other for the DHT (DHT11 and DHT22) sensors, download links are below:
LiquidCrystal_I2C Library — direct link
Adafruit DHT library — direct link
DHT11 code:
1 2 3 4 5 6 7 8 9 10 11 12 13 14 15 16 17 18 19 20 21 22 23 24 25 26 27 28 29 30 31 32 33 34 35 36 37 38 39 40 41 42 43 44 45 46 47 48 49 50 51 52 53 | // Interfacing ESP8266 (ESP-01) with DHT11 sensor #include <LiquidCrystal_I2C.h> // Include LiquidCrystal_I2C library #include "DHT.h" // Include DHT library #define DHTPIN 1 // DHT11 data pin is connected to ESP8266 pin GPIO1 (TX) #define DHTTYPE DHT11 // DHT11 sensor is used DHT dht(DHTPIN, DHTTYPE); // Configure DHT library char temperature[] = "Temp = 00.0 C "; char humidity[] = "RH = 00.0 % "; LiquidCrystal_I2C lcd(0x27, 16, 2); // Configure LiquidCrystal_I2C library with 0x27 address, 16 columns and 2 rows void setup() { lcd.begin(0, 2); // Initialize I2C LCD module (SDA = GPIO0, SCL = GPIO2) lcd.backlight(); // Turn backlight ON dht.begin(); // Initialize DHT sensor } void loop() { delay(1000); // wait 1s between readings // Read humidity byte RH = dht.readHumidity(); //Read temperature in degree Celsius byte Temp = dht.readTemperature(); // Check if any reads failed and exit early (to try again) if (isnan(RH) || isnan(Temp)) { lcd.clear(); lcd.setCursor(5, 0); lcd.print("Error"); return; } temperature[7] = Temp / 10 + 48; temperature[8] = Temp % 10 + 48; temperature[11] = 223; // Put degree symbol (°) humidity[7] = RH / 10 + 48; humidity[8] = RH % 10 + 48; lcd.setCursor(0, 0); lcd.print(temperature); lcd.setCursor(0, 1); lcd.print(humidity); } |
DHT22 code:
1 2 3 4 5 6 7 8 9 10 11 12 13 14 15 16 17 18 19 20 21 22 23 24 25 26 27 28 29 30 31 32 33 34 35 36 37 38 39 40 41 42 43 44 45 46 47 48 49 50 51 52 53 54 55 56 57 58 59 60 61 62 63 64 | // Interfacing ESP8266 (ESP-01) with DHT22 sensor #include <LiquidCrystal_I2C.h> // Include LiquidCrystal_I2C library #include "DHT.h" // Include DHT library #define DHTPIN 1 // DHT22 data pin is connected to ESP8266 pin GPIO1 (TX) #define DHTTYPE DHT22 // DHT22 sensor is used DHT dht(DHTPIN, DHTTYPE); // Configure DHT library char temperature[] = "Temp = 00.0 C "; char humidity[] = "RH = 00.0 % "; LiquidCrystal_I2C lcd(0x27, 16, 2); // Configure LiquidCrystal_I2C library with 0x27 address, 16 columns and 2 rows void setup() { lcd.begin(0, 2); // Initialize I2C LCD module (SDA = GPIO0, SCL = GPIO2) lcd.backlight(); // Turn backlight ON dht.begin(); // Initialize DHT sensor } void loop() { delay(1000); // wait 1s between readings // Read humidity int RH = dht.readHumidity() * 10; //Read temperature in degree Celsius int Temp = dht.readTemperature() * 10; // Check if any reads failed and exit early (to try again) if (isnan(RH) || isnan(Temp)) { lcd.clear(); lcd.setCursor(5, 0); lcd.print("Error"); return; } if(Temp < 0){ temperature[6] = '-'; Temp = abs(Temp); } else temperature[6] = ' '; temperature[7] = (Temp / 100) % 10 + 48; temperature[8] = (Temp / 10) % 10 + 48; temperature[10] = Temp % 10 + 48; temperature[11] = 223; // Degree symbol ( °) if(RH >= 1000) humidity[6] = '1'; else humidity[6] = ' '; humidity[7] = (RH / 100) % 10 + 48; humidity[8] = (RH / 10) % 10 + 48; humidity[10] = RH % 10 + 48; lcd.setCursor(0, 0); lcd.print(temperature); lcd.setCursor(0, 1); lcd.print(humidity); } |
Discover more from Simple Circuit
Subscribe to get the latest posts sent to your email.
